 RemoveGreen
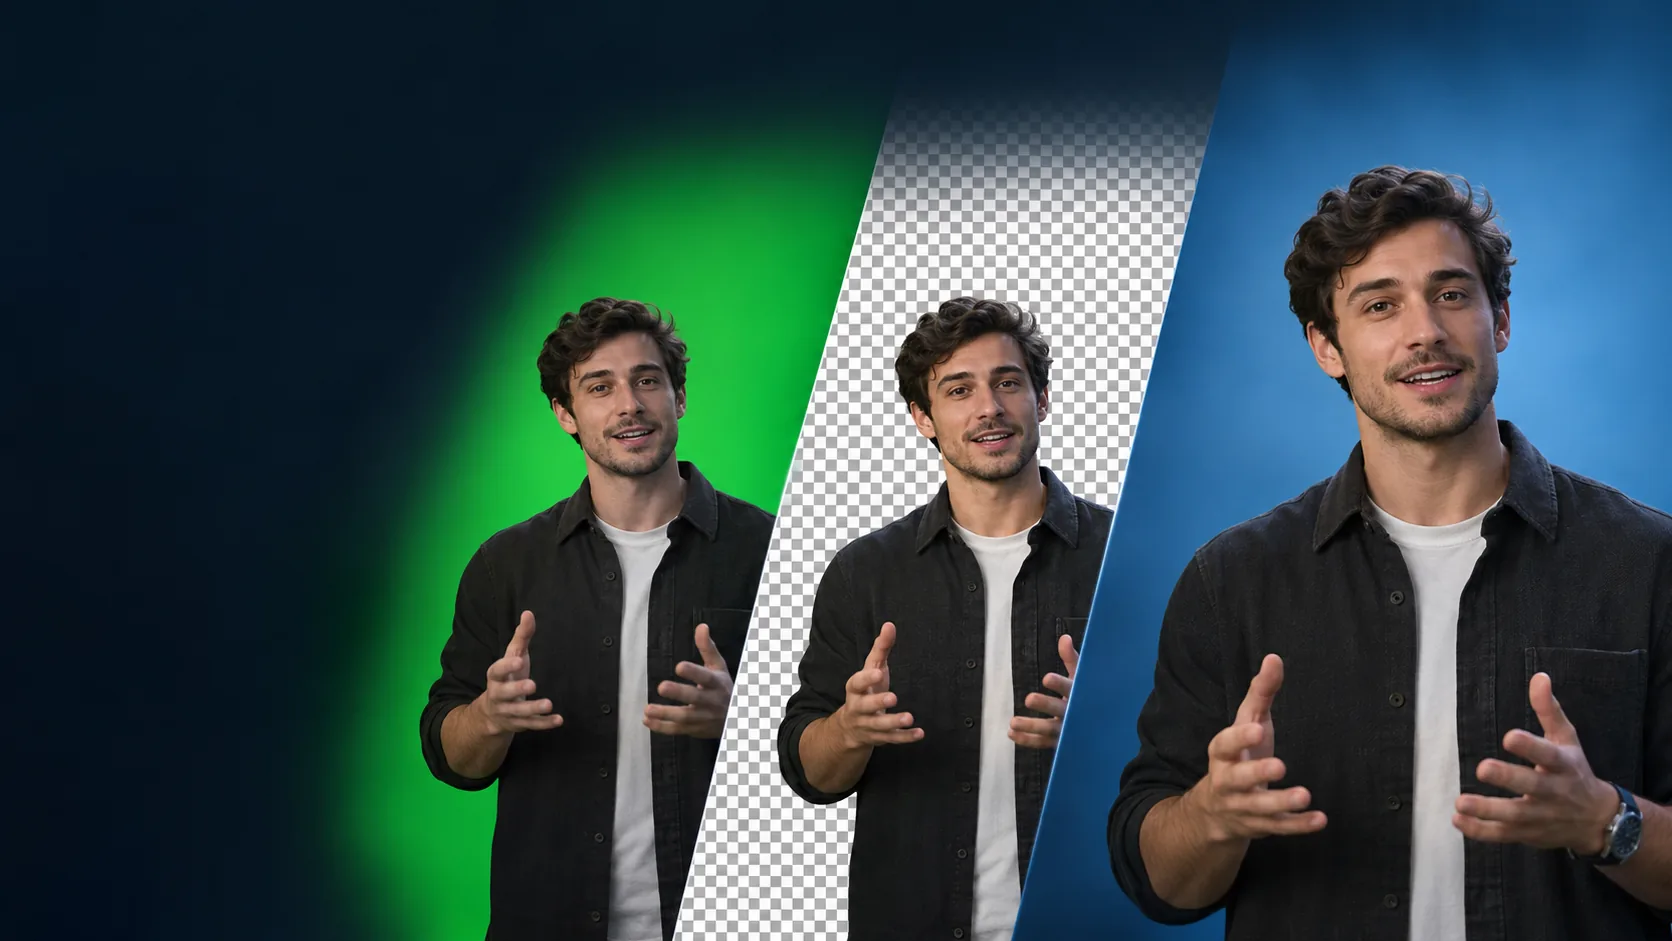
Removing a green screen is mostly a matter of making the right decisions in the right order. Start with the original video, establish a clean key, inspect difficult edges, and only then decide whether you need a transparent foreground or a finished replacement-background video. This guide walks through that workflow without assuming prior chroma-key experience.
Before you start: use the original clip
Choose the original MP4, MOV, or WebM whenever possible. The current RemoveGreen uploader accepts those formats up to 500MB. A re-encoded screen recording can add compression around hair, hands, and fast movement, which makes the key harder to judge.
Also decide what you need at the end. A transparent result keeps the subject available for later compositing. A replacement-background result already combines the subject with a solid color, image, or video. Those are different deliverables, so choose the preview and export path with the next editing step in mind.
A practical step-by-step workflow
- Open the RemoveGreen tool and upload your original MP4, MOV, or WebM clip.
- Start with Auto Detect or sample a representative green area. Choose a part of the screen that is evenly lit, not a shadow or a bright reflection.
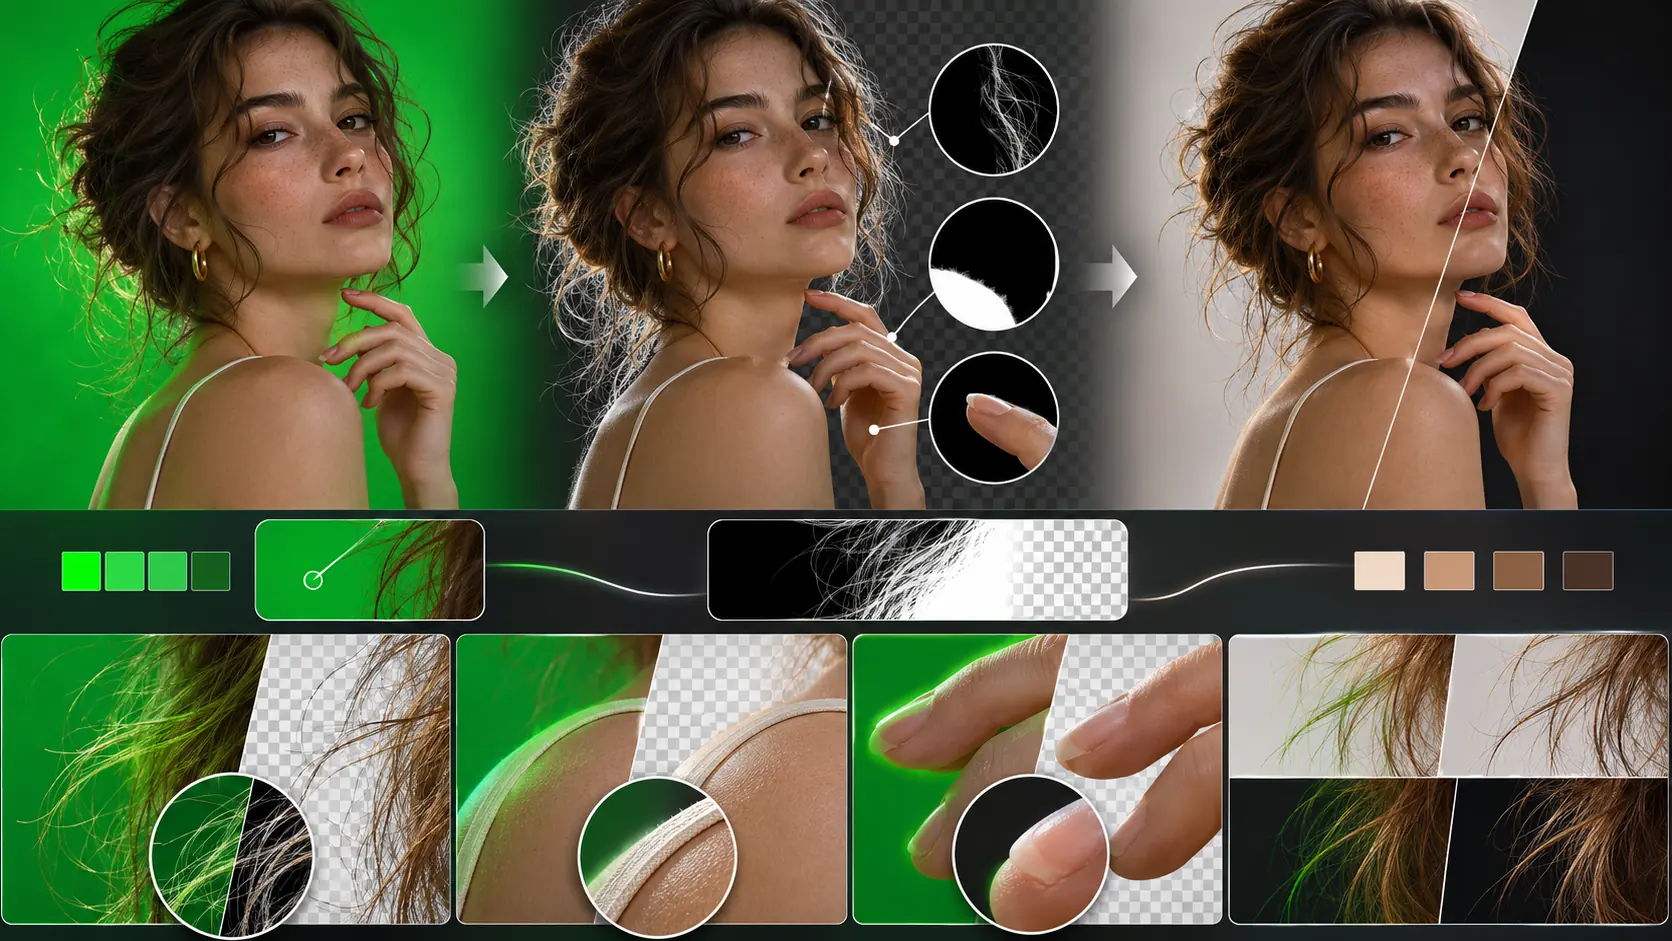
- Inspect the first result over the checkerboard. Check the subject’s hair, shoulders, hands, and any reflective or translucent objects before changing several controls at once.
- Make small adjustments to Strength and Edge. If parts of the subject disappear, reduce the setting that is removing detail instead of pushing the key harder.
- Use Spill Removal to reduce a green cast on the subject after the cutout is stable. Compare the result against both a light and a dark preview background.
- Choose transparent output for a reusable foreground, or select a solid color, image, or video background when you want a finished composite.
What to look for in the preview
The checkerboard is useful for seeing whether the background has been removed, but it is not the only test. A dark background can reveal a light halo; a light or saturated background can reveal leftover green or holes in the subject. Move through several representative frames instead of judging only the first frame.
Hair and motion-blurred hands are good stress tests. A little softness can be preferable to a crunchy edge, while a strong green fringe usually calls for a controlled Spill Removal adjustment. If the footage was poorly lit, heavily compressed, or shot very close to the screen, stronger settings may remove detail rather than recover it.
Three quick quality checks
Check the outline around hair and shoulders.
Look for holes in clothing, hands, and props.
Toggle between the original and processed view so color changes are not mistaken for missing pixels.
Choose the output that matches the next step
Use transparent output when another editor, browser composition, or presentation needs the subject separated from its background. Use a solid, image, or video background when you already know the final scene and want an ordinary composited video.
Keep the downloaded result and test it in the application where it will be used. A preview can look correct while a destination application has different codec or transparency support. For a transparent foreground, verify that the destination shows the intended background through the subject’s removed area.
Know the workflow limits
Browser-first Chroma Key processing is a practical starting point, not a promise that every difficult frame will become perfect. Uneven lighting, green reflections, motion blur, fine hair, and compression can limit the result. When the source does not contain clean detail, more aggressive keying cannot recreate it.
AI Green Screen Cleanup is a separate, optional workflow. It requires sign-in, shows an estimated Credits cost before confirmation, and currently supports videos up to 60 seconds. It should not be treated as an automatic step in the standard browser workflow.
Frequently asked questions
Can I remove a green screen in my browser?
Yes. RemoveGreen’s standard Chroma Key workflow is designed to process the video in the browser. The separate AI Green Screen Cleanup workflow requires an explicit temporary upload.
What video files can I upload?
The current uploader accepts MP4, MOV, and WebM video files up to 500MB.
What should I adjust first?
Start with Auto Detect or a representative green sample, then check the preview. Use Strength and Edge carefully, and make small Spill Removal adjustments only after the main cutout is stable.
Can I make the background transparent?
Yes. Preview the cutout on the checkerboard and choose transparent output when you need a reusable foreground. If you choose a solid color, image, or video background, the result is a composited video instead.